
LED Channel Letter Installation & Wiring Guide (Step-by-Step) | YIJIAO
Updated: Jul 6
LED channel letter installation is a professional signage engineering process that includes precise layout marking, secure mounting methods, low-voltage wiring connections, and correct LED power supply configuration.
Proper installation ensures long-term outdoor durability, stable illumination, and safe electrical performance for storefront signage systems.
This guide from YIJIAO provides a complete step-by-step breakdown of LED channel letter installation, including templates, wiring methods, power supply setup, and different mounting solutions for various wall conditions.
Preparation: Tools & Materials Needed
Before you begin, ensure you have the following tools on hand:
Power Drill & Bits (appropriate for the wall surface)
Level & Measuring Tape
1:1 Installation Template (provided with YIJIAO signs)
LED Transformer (12V or 24V DC)—provided with YIJIAO signs
Wire Strippers & Waterproof Connectors
Silicone Sealant (for weatherproofing)

Common Mounting Operation Guide for LED Sign Installation and Wiring
LED channel letter wiring typically uses 12V or 24V DC low-voltage systems designed for safe and stable outdoor signage performance. Proper wire sizing, correct polarity connection, and appropriate LED power supply selection are essential to prevent voltage drop, flickering, and premature LED module failure in channel letter installation projects.
Step 1: Layout and Mounting
Before drilling, use the 1:1 installation template (usually provided by YIJIAO).
Leveling: Secure the template to the wall and use a level to ensure it's straight.
Drilling: Mark the wire holes and screw holes.
Mounting: Use standoffs or flush mount depending on the design.
Pro Tip: Always check the wall material (brick, wood, or drywall) to choose the correct anchors.
Step 2: Wiring Connections
Cable Routing: Route low-voltage cables through the prepared holes and keep runs short to reduce voltage drop.
LED Connections: Connect LED modules according to the wiring diagram and verify polarity before powering on.
Outdoor Protection: Use waterproof connectors or junction boxes for exterior installations.
Cable Management: Secure all wiring to prevent movement, abrasion, and maintenance issues.
Pro Tip: Organized wiring improves heat dissipation, reliability, and long-term serviceability.
Step 3: Power Supply Installation
Install power supplies in a dry and ventilated location.
Ensure sufficient access space for future maintenance.
Verify voltage and wattage requirements before energizing the system.
Follow manufacturer loading recommendations and avoid overloading a single transformer.
Many installers limit loading to approximately 80% of the power supply's rated capacity to improve reliability and service life
LED Channel Letter Installation Solutions
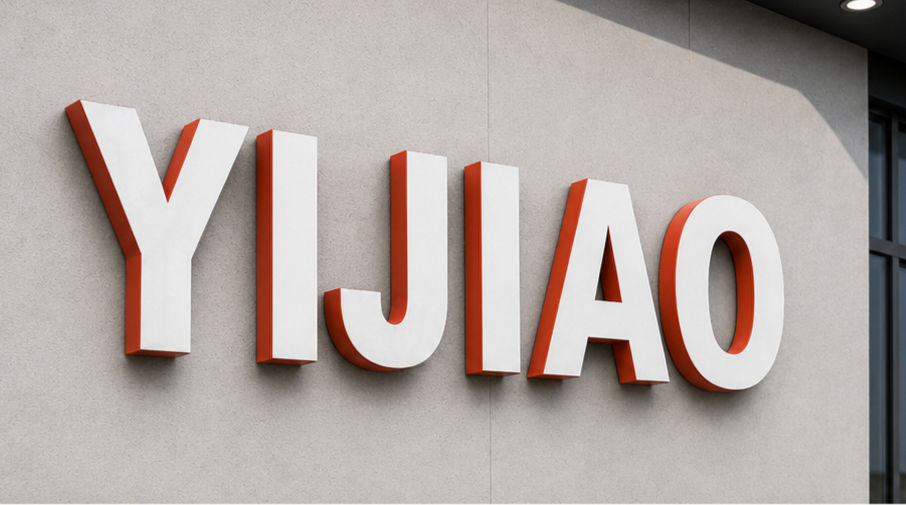
Direct wall mounting is used for concrete walls, brick walls and other solid substrates. Letters are fixed with screws, studs, expansion bolts or anchors. This method is strong and clean, making it suitable for storefront signs, interior logo walls and building facades.
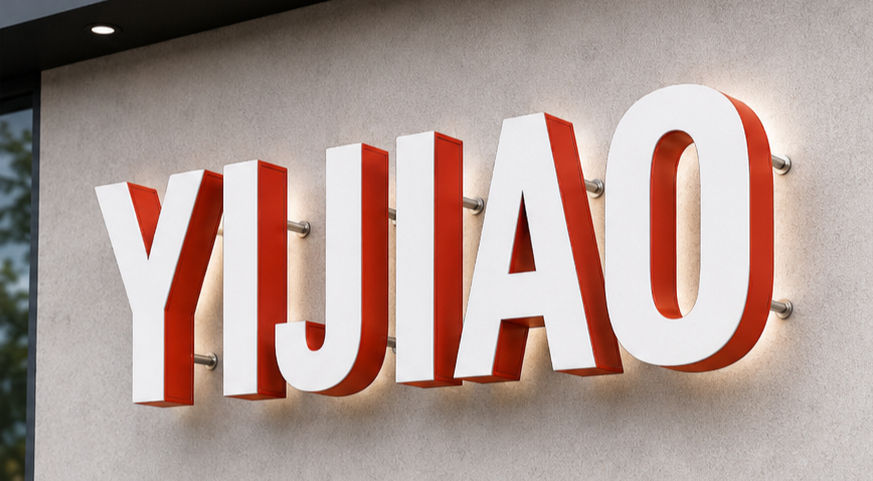
Stud and spacer mounting is often used when letters need to stand away from the wall. This is common for halo-lit letters, backlit letters or installations where a floating effect is required. The spacer distance helps control the lighting effect and gives space for hidden wiring.

Back panel or color plate mounting is useful when the wall surface is uneven, weak or difficult to drill directly. The LED letters are first installed on a metal panel, aluminum composite panel or color plate, then the whole set is mounted to the building. This also helps keep alignment consistent for chain-store signage.

Glass mounting is used for glass storefronts, partitions and curtain walls. Hardware must be selected carefully to avoid excessive stress on the glass. Double-sided nuts, backing plates, clamps or special brackets may be required depending on the glass thickness and load.
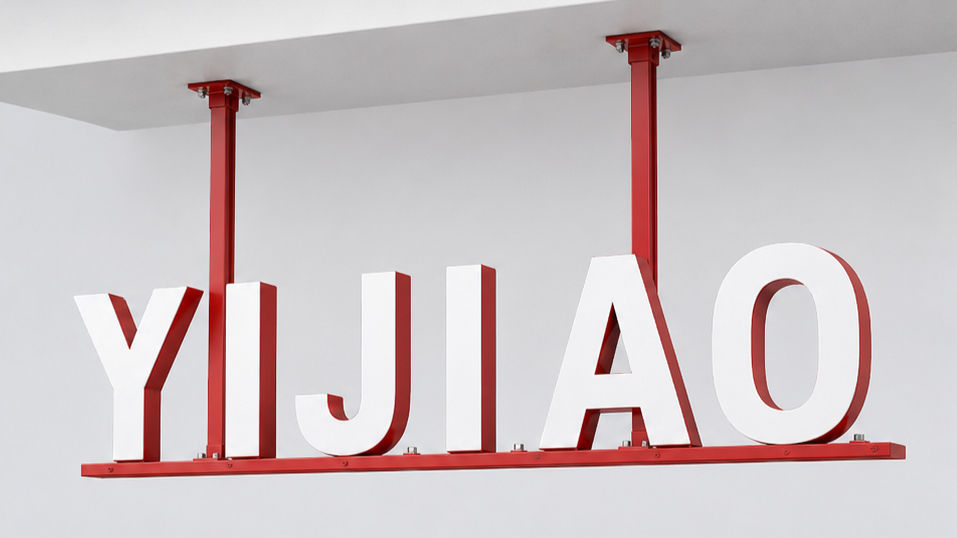
Platform, canopy or bracket mounting is suitable for signs installed on eaves, platforms, roof edges or locations where a wall fixing is not possible. L-shaped brackets, metal bases or support frames can be used. For outdoor projects, wind load and long-term structural strength should be checked early.
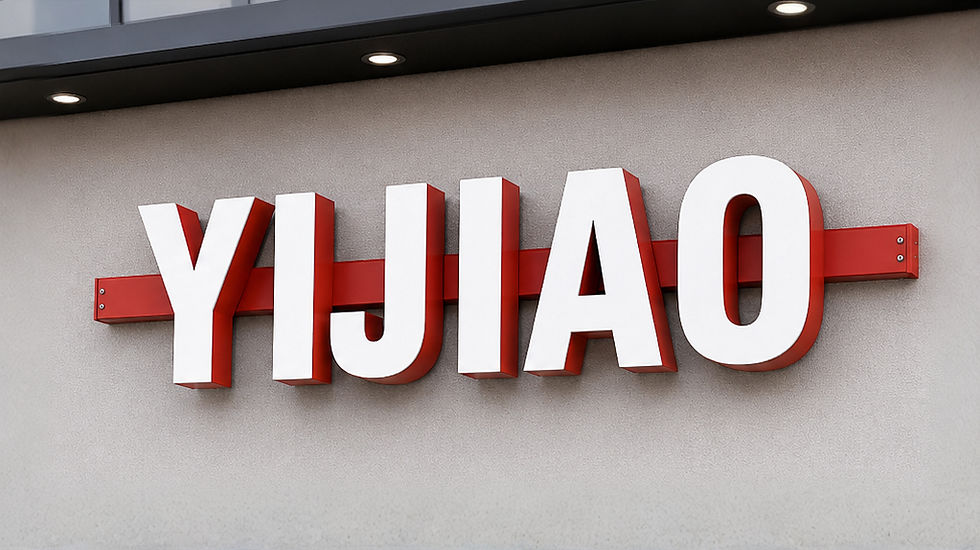
Raceway or rail mounting is often used when several letters need to be aligned and wired together. The letters are mounted onto a horizontal raceway, rail or base structure. This can simplify installation, protect wiring and make servicing easier, especially for large storefront signs.
Frequently Asked Questions (FAQ)
Q: What wire gauge should I use for LED channel letter installation wiring?
A: For most LED channel letter installations under 20 feet, 18AWG or 16AWG copper wire is sufficient for the DC low-voltage wiring system. For longer runs, thicker wire is recommended to reduce voltage drop and ensure stable LED performance.
Q: Can I hide the LED transformer inside channel letters?
A: No, LED transformers used in LED channel letter installation should be placed in a ventilated and accessible location such as a raceway, junction box, or behind the wall to ensure heat dissipation and allow future maintenance.
Q: Why is my LED channel letter flickering?
A: Flickering in LED channel letter installation is usually caused by an overloaded power supply, loose wiring connections, or incorrect wire gauge resulting in voltage drop in the LED wiring system.
Why Work With YIJIAO?
YIJIAO designs and manufactures custom LED letters, trim cap channel letters, halo-lit letters, acrylic letters and complete illuminated sign systems for global projects. We help clients plan not only the visible sign face, but also the mounting structure, wiring path, power supply layout and packaging details required for smoother installation.
Explore YIJIAO trim cap channel letters: https://www.yijiaocn.com/trim-cap-channel-letters
For a custom LED letter sign project, send your artwork, size, installation surface, lighting effect and country of installation to the YIJIAO team for a practical production recommendation.


Comments