
LED Sign Project Guide: From Concept to Installation
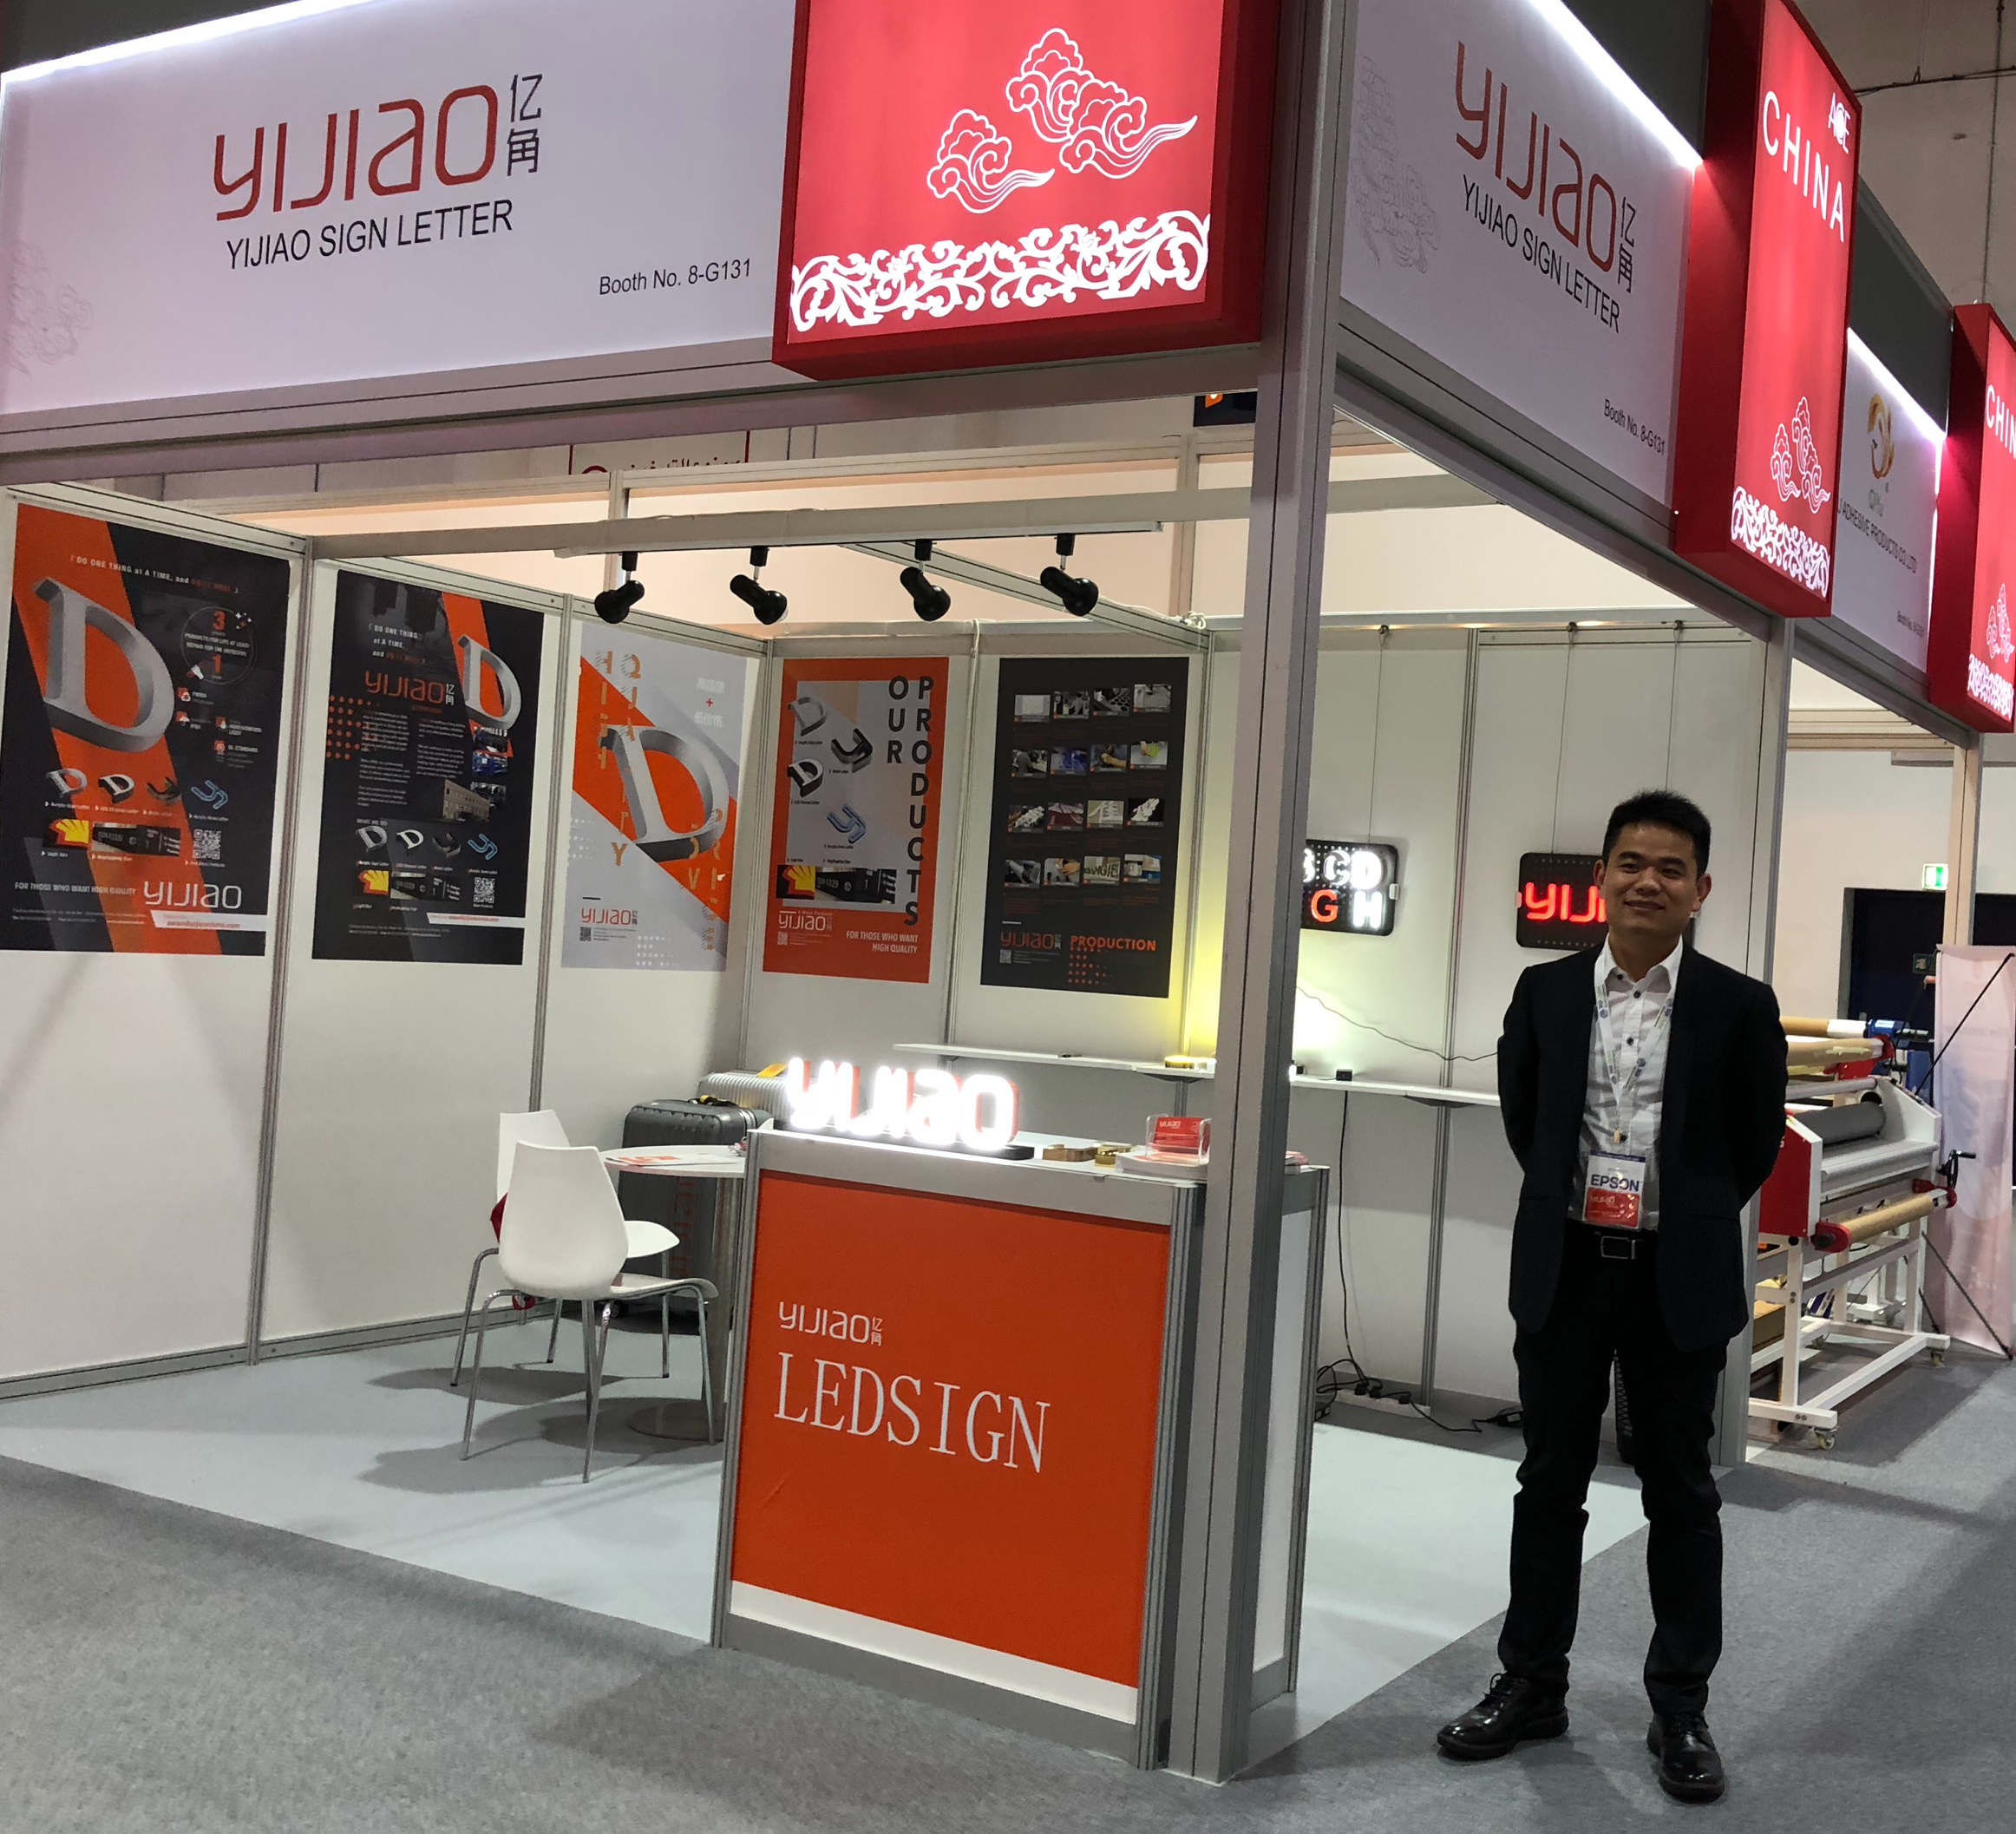
A successful LED sign project is not only about making a sign that lights up. It is a complete process that connects brand goals, site conditions, technical drawings, material selection, production, quality control, packing, installation, and long-term maintenance.
Whether the project is for LED letter signs, illuminated logos, light box signs, wayfinding signage, acrylic neon signs, or building facade signage, each step affects the final result. A clear project workflow helps the customer, designer, factory, and installer work from the same expectation.
What Is an LED Sign Project?
An LED sign project usually starts with a business need: better storefront visibility, stronger brand presence, clearer navigation, or a more professional commercial space. The final product may be a set of channel letters, halo-lit letters, acrylic LED letters, a light box, a wall logo, or a complete signage package for a retail store, hotel, restaurant, office, mall, or public building.
Because most LED signs are custom made, the project must be managed carefully. Size, material, lighting effect, installation surface, power supply, local installation conditions, and shipping method should all be considered before production begins.
1. Project Brief and Goal Confirmation
The first step is understanding what the sign needs to achieve. Is the goal to attract street traffic, make a storefront easier to recognize, improve wayfinding, upgrade a brand environment, or match an architectural design?
At this stage, the customer should provide the logo file, preferred size, installation location, photos of the wall or storefront, lighting requirement, target delivery time, and any local installation limitations. If the project is still early, the factory can also help recommend a suitable sign type based on the business space and budget.
2. Site Information and Technical Review
Before design and production, the site conditions should be checked. Important details include wall material, available mounting area, viewing distance, power access, indoor or outdoor use, sunlight exposure, local weather, and whether the sign needs front lighting, back lighting, side lighting, or internal diffusion.
For outdoor LED sign projects, waterproofing, corrosion resistance, wind exposure, and cable protection are especially important. For indoor brand walls or retail environments, finish quality, color accuracy, and clean installation details may matter more.
3. Design Development and Visual Mockup
After the project requirements are clear, the design team prepares a visual mockup or layout. This helps the customer understand the final appearance, including sign size, position, color, lighting style, and overall proportion on the wall or facade.
For LED letter signs, this stage may include comparing front-lit letters, halo-lit letters, trim cap channel letters, trimless letters, stainless steel letters, acrylic letters, or mixed-material solutions. The goal is to choose a solution that looks right in the actual space, not only on a flat drawing.
4. Engineering Drawing and Production Specification
Once the visual direction is approved, the project moves into technical drawing. This step confirms exact dimensions, letter depth, material thickness, mounting method, screw positions, LED layout, transformer position, wiring route, and installation accessories.
A good engineering drawing reduces misunderstandings. It also gives the production team and installer a shared reference, which is especially important for large signs, multi-letter logos, or projects shipped internationally.
5. Material Selection and Production Planning
Different LED sign projects need different materials. Common choices include stainless steel, aluminum, acrylic, polycarbonate, LED modules, transformers, mounting hardware, and waterproof connectors.
Material selection should match the environment and expected visual effect. Outdoor signs need durability and weather resistance. Premium retail signs may need a cleaner finish, more precise color matching, or a special surface treatment. A reliable factory will review the project requirements before choosing the mat


erial and production method.
6. Manufacturing and Assembly
During production, the approved files are used for cutting, bending, welding, painting, polishing, LED installation, wiring, and final assembly. For LED letter signs, the body structure, acrylic faces, returns, backs, LEDs, and mounting details must fit accurately.
Good manufacturing is about consistency. Letter edges should be clean, paint should be even, acrylic should diffuse light smoothly, and wiring should be organized and protected. The sign needs to look professional in daylight and illuminate evenly at night.
7. Quality Control Before Shipping
Quality control should happen before the sign leaves the factory. The team checks size, appearance, color, surface finish, LED brightness, color temperature, wiring, transformer output, waterproof details, and overall lighting effect.
For higher-requirement projects, additional tests may include aging tests, coating thickness checks, paint adhesion checks, gloss checks, corrosion resistance checks, or full lighting tests in a darker environment. A clear QC process helps prevent expensive problems after shipping or installation.
You can also review our sign quality control process to understand how inspection tools are used for custom signage projects.
8. Packing, Shipping, and Installation Support
LED signs are custom products, so packing matters. Acrylic faces, painted surfaces, LED modules, wiring, and mounting accessories need protection during transportation. Each letter or component should be labeled clearly to make installation easier.
For international projects, installation drawings, wiring diagrams, screw templates, transformer information, and accessory lists should be packed or sent to the installer in advance. This reduces confusion on site and helps the project move faster.
9. Installation and Final Testing
Installation brings the project into the real environment. The installer checks positioning, alignment, mounting strength, wiring connection, transformer placement, and final lighting effect. After power is connected, the sign should be tested for brightness, stability, color consistency, and any visible dark spots or light leakage.
For building facade signs or complex commercial projects, final testing should be done from the actual viewing distance so the team can see the sign the same way customers will see it.
10. Maintenance and Long-Term Performance
A good LED sign should continue to perform after installation. Basic maintenance may include cleaning the surface, checking wiring, inspecting waterproof seals, reviewing transformer performance, and replacing damaged parts if needed.
For outdoor signs, regular inspection is useful after heavy rain, strong sunlight, or seasonal weather changes. Long-term performance depends on good design, correct materials, careful production, proper installation, and reasonable maintenance.
Customer Checklist Before Starting an LED Sign Project
Before requesting a quotation, prepare the following details if possible: logo file, required size, installation photos, wall dimensions, indoor or outdoor use, lighting style, preferred material or finish, voltage requirement, target delivery date, and shipping destination.
The more complete the information, the more accurate the quotation, drawing, production plan, and delivery schedule will be.
Conclusion
A successful LED sign project is built step by step. The process starts with a clear goal, moves through site review, design, engineering, material selection, production, quality control, packing, installation, and maintenance, and ends with a sign that supports the brand every day.
If you are planning a custom LED sign project, send us your logo, site photos, size requirement, lighting effect, and installation details. YIJIAO can help with design suggestions, production drawings, material recommendations, quality control, and factory-direct signage production.


Comments