
How LED Letter Signs Are Made: A Complete Production Process
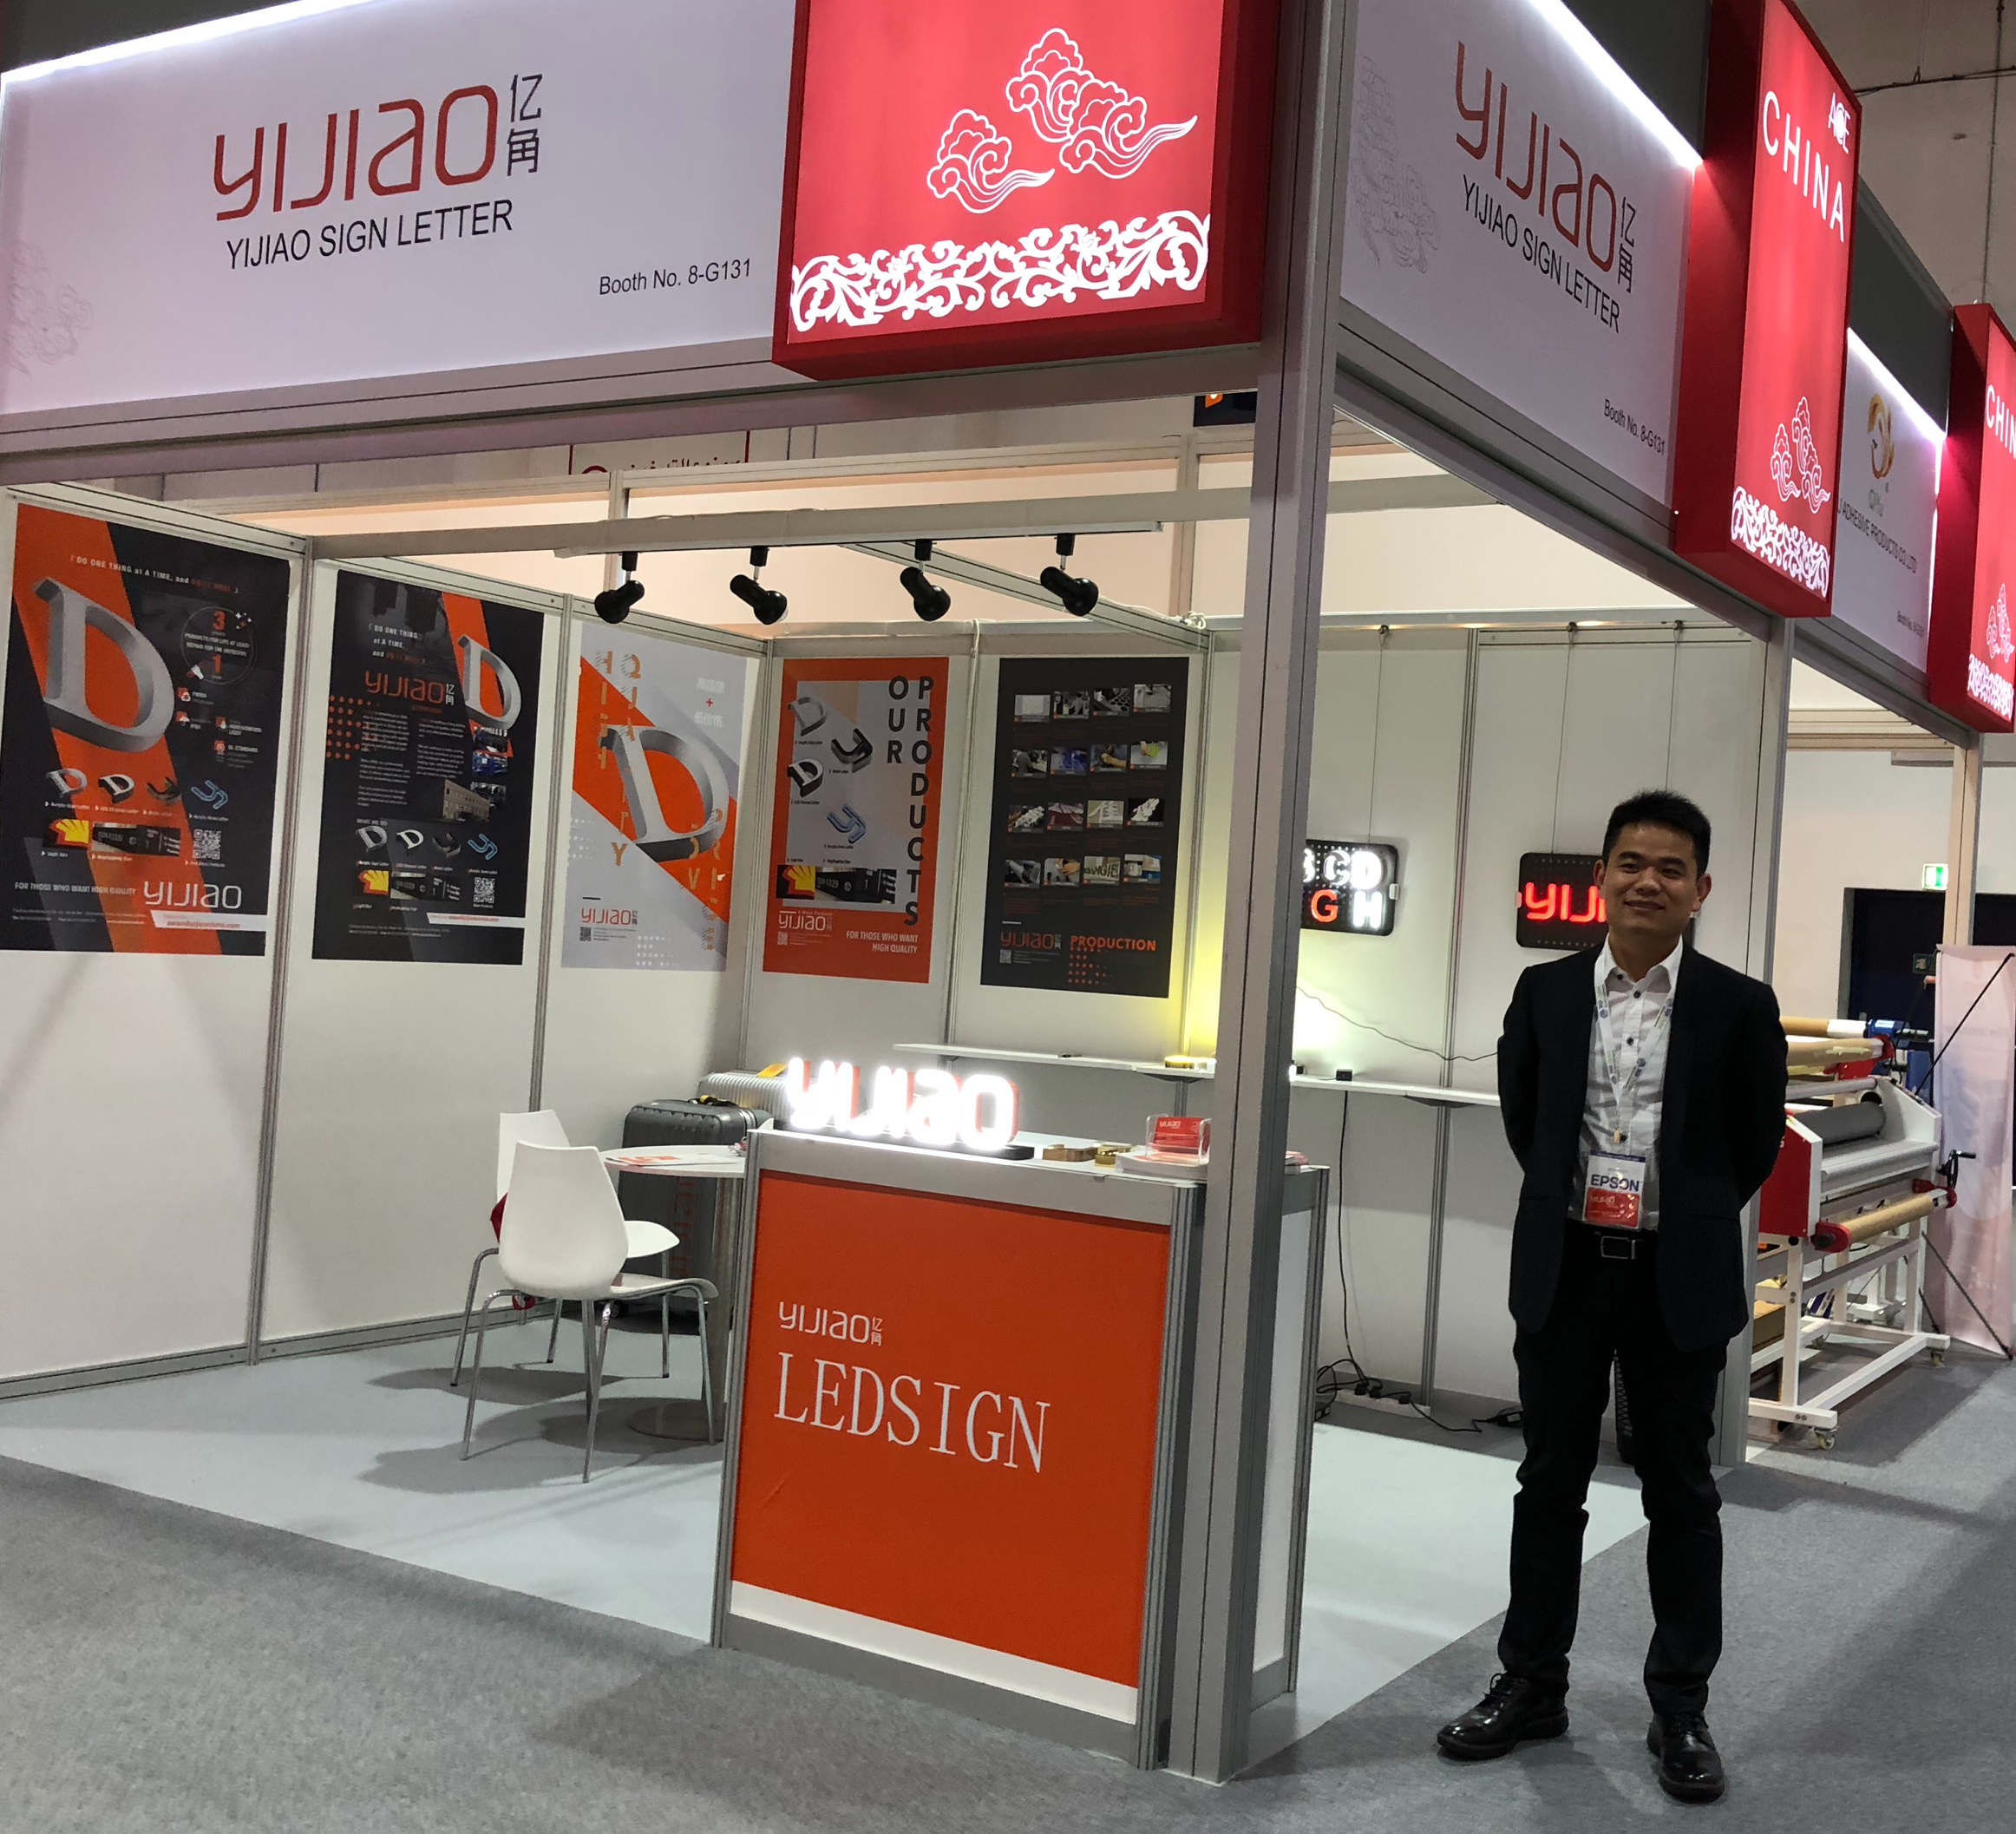
LED letter signs are widely used for storefronts, shopping malls, hotels, restaurants, offices, and commercial buildings. A professional LED letter sign is not only about brightness. It also depends on accurate drawings, suitable materials, clean fabrication, safe wiring, careful testing, and proper packing.
This guide explains the typical production process for custom LED letter signs, from the first design drawing to final quality control and installation support.
1. Design Confirmation and Technical Drawing
The process starts with the customer logo, required size, installation location, lighting effect, and brand color. Before production, the design team prepares a technical drawing that confirms the letter height, stroke width, depth, lighting method, mounting structure, power supply position, and installation details.
This step is especially important for custom signs because every logo and storefront has different proportions. A clear drawing helps the factory, installer, and customer work from the same specification.
2. Material Selection
Different projects require different materials. Common LED letter sign materials include stainless steel, aluminum, acrylic, polycarbonate, LED modules, transformers, and mounting hardware.
For outdoor signs, weather resistance and corrosion resistance are important. For indoor retail signs, the visual finish and lighting uniformity may matter more. The structure also changes depending on whether the sign is front-lit, back-lit, edge-lit, trim cap, or trimless.
3. Cutting Letter Faces, Backs, and Returns
After the drawing is approved, the letter faces, backs, and side returns are cut according to the production file. CNC cutting, laser cutting, or engraving machines are used to keep the shape accurate and the edges clean.
Precision at this stage affects the whole sign. If the faces and returns are not accurate, the final assembly may show gaps, uneven edges, or poor light diffusion.
4. Forming, Bending, and Welding
The side returns are bent to match the shape of each letter. Metal letter bodies are usually welded, polished, and cleaned before surface finishing. Acrylic or trimless structures may require bonding, routing, or special assembly methods.
Good forming and welding make the sign stronger during shipping, installation, and long-term outdoor use.
5. Surface Finishing
Surface finishing gives the sign its final appearance. Depending on the design, LED letters can be painted, powder coated, brushed, mirror polished, plated, or finished in a custom brand color.
A quality finish improves both the daytime look and the durability of the sign. For metal letters, finishing also helps protect the surface from moisture, fingerprints, and corrosion.
6. LED Layout and Wiring
Production Reference Image


s
The following reference images show typical LED letter sign structure and internal LED layout used during production planning and assembly.
LED modules are arranged inside the letters according to the lighting plan. The spacing, angle, and position of the LEDs are carefully controlled to avoid dark spots, hot spots, or uneven brightness.
The wiring, transformer capacity, voltage, cable routing, and waterproof protection must also be checked. For outdoor signs, waterproof LED modules and protected cable connections are essential.
7. Assembly of Faces and Backs
After LEDs are installed, the acrylic faces, backs, diffusers, or trim parts are assembled with the letter body. The production team checks alignment, screw positions, glue lines, sealing, and light diffusion.
A well-assembled LED letter should look clean in daylight and illuminate evenly at night.
8. Lighting Test and Quality Control
Before packing, every sign should go through a lighting test and inspection. The team checks brightness, color consistency, wiring, power supply, surface finish, structure, and overall appearance.
For outdoor or high-requirement projects, an aging test or waterproof check may also be arranged. This helps find problems before the sign is shipped to the customer.
9. Packing and Shipping
LED letter signs are custom-made products, so packing must protect the surface, acrylic parts, LEDs, and wiring. Each letter is usually wrapped separately with protective film, foam, cartons, or wooden crates.
Installation drawings, wiring diagrams, transformers, screws, and mounting accessories can be packed together so the installer can identify everything quickly on site.
10. Installation Support
Many LED letter signs are installed by local sign companies, contractors, or project teams. A reliable factory should provide installation drawings, wiring instructions, screw hole positions, and transformer information.
For large signs, each letter can be marked and packed in installation order to reduce mistakes and save installation time.
Conclusion
A high-quality LED letter sign depends on a complete production process. Design confirmation, material selection, cutting, forming, finishing, LED assembly, testing, packing, and installation support all affect the final result.
For storefronts, commercial buildings, and brand spaces, custom LED letter signs offer strong visibility, professional appearance, and long-term value.
Need custom LED letter signs for your project? Send us your logo, size, lighting requirements, and installation details. Our team can provide production drawings, material recommendations, and a factory-direct quotation.


Comments